Wednesday, May 18, 2011

Of course I am not perfect!

Did you know there are few certain things that you don't know about my baking adventure. Like how I'd never bake anything related to yeast. Or my biggest fear during the whole baking process is beating the egg whites. and many more.

What you didn't know is it is not all beauty when it comes with the cake. I had few failures, sinking cake, as hard as rock cake (yes ain't no lie here), no taste cake, awful cake, yes you named it!

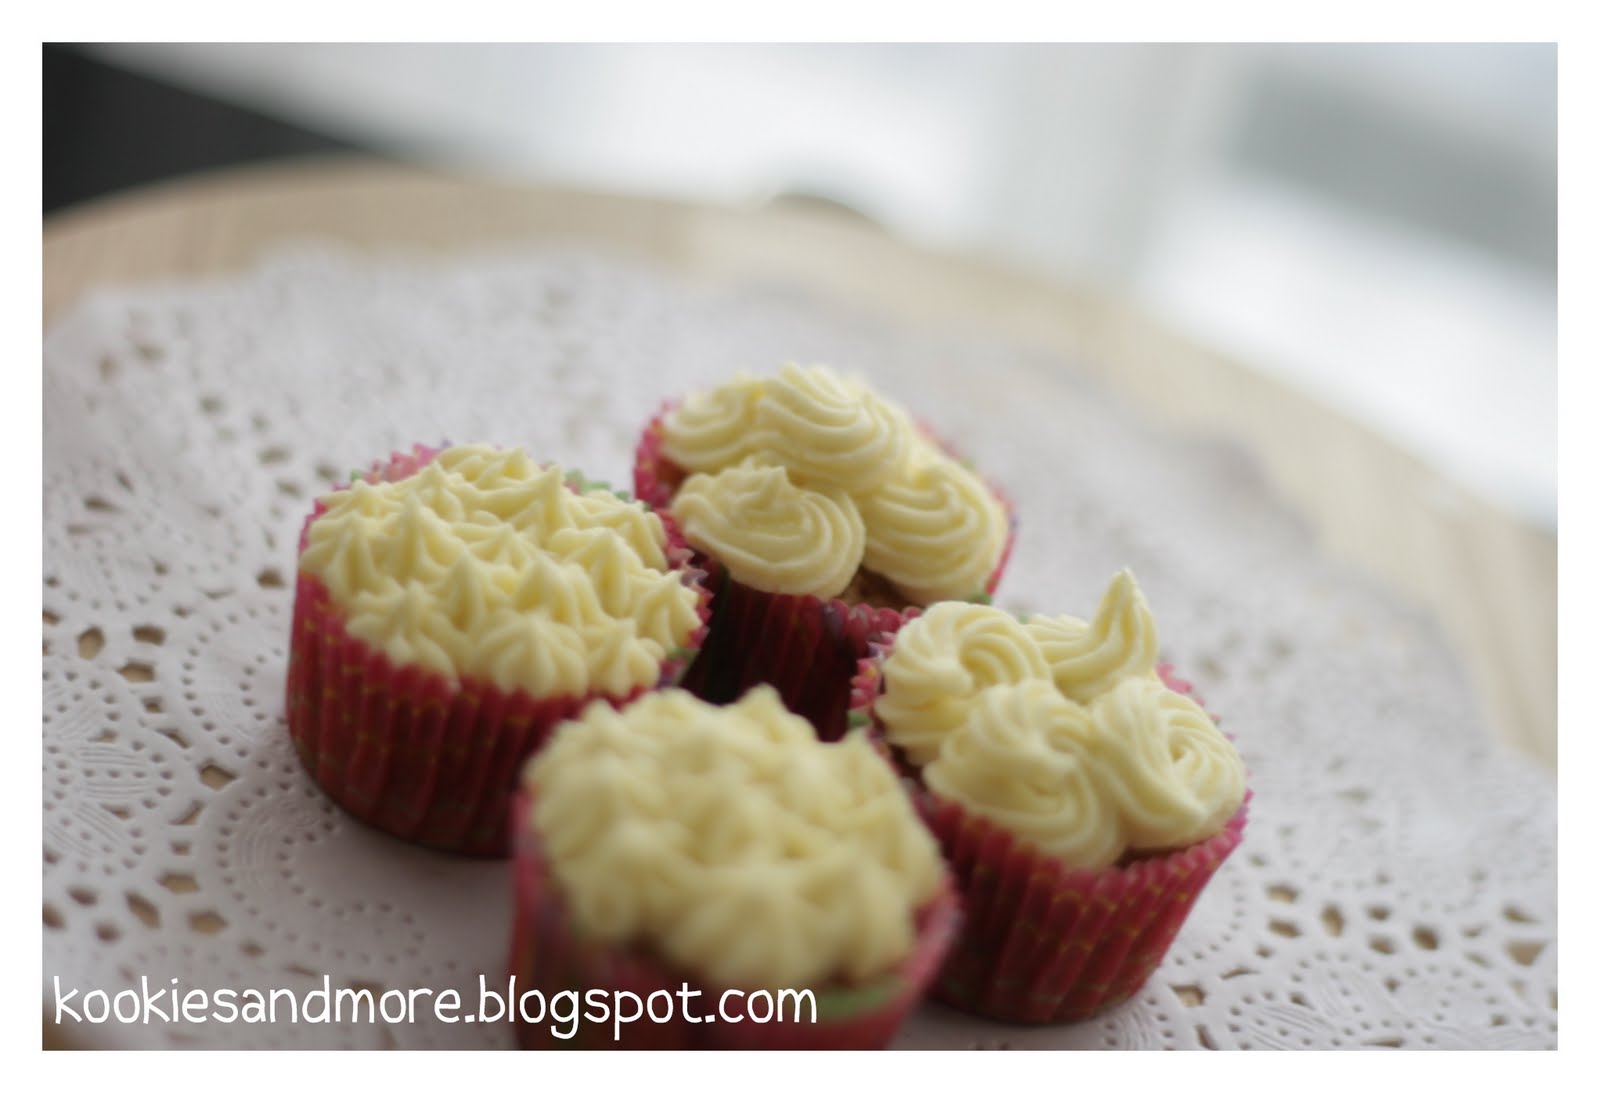
This is my brother's birthday cake. And I totally forgot peanut butter and cheese really ain't my thing.
We'd settled for three slices and threw away the rest. Well, it was more like I accidentally flipped over the cake pan and the cake fell on the floor, facing down. But I didn't even feel guilty afterwards. It was more like, relieved! :p


And then, among other cakes that on my failure cakes list was Durian Cake.

My boyfriend was a hugeeeeeeeeeeeeee fan of durian until one day we ended up of having three large size tupperware filled with durian until we almost puke everytime we closed the fridge's door. I searched high and low for the recipe and settle for this; cake from here and filling from here.

It wasn't my biggest mistake but the cake was tasteless. I was dying to finish my unsweetened whipping cream so I used that. And I was never a fan of a chiffon or spongy cake, so I threw it away half of it because eventhough I thought it was tasteless, my brother think the other way round.

Just wait until the next durian season (probably next month).

The most disastrous cake I made was an attempt to bake a Pandan Layered Cake. An attempt because I couldn't even assemble. An attempt because eventhough I halves the recipe, my cake was solid. Like rock. Like a thick chopping board. Hard, very hard. And bitter.

In the middle of measuring, I realized that I was out of cake flour (and all purpose flour) so I substituted it with corn flour. Just a teeny weeny corn flour and 30 minutes after, I could just use the cake as my temporary hammer.

I was devastated at first but happy few minutes after that because I could finally called it off for that day and sleep early :)

I baked a Buttermilk Banana Bread the other day. Looking at the picture from the original blog, I thought mine would be as delicious at it seems. But no. I don't know what happened but I just baked a Bingka Pisang instead of a bread. So yeah. I don't know what went wrong. Up until now i just called my delicious banana bread as bingka pasang.

Maybe I should be a magician?

Thursday, May 12, 2011

Carrot Cake (The Best!)

Ok now this is an improvement :p One post a day hehe.

Back to the carrot cake hunting.

There were only few days left before I had to deliver the cake to my friend. And then she texted me again. She needed it a day earlier. I was dumbfounded. Obviously because I had no recipe to bake and I don't think I can make it.

A day before the delivery, I rolled up my sleeves and wished that I made a good decision by picking this one recipe. A recipe that I'd never bake before, a recipe that required all the basic ingredients only.

And there were only 3 carrots left. So it must be perfect.

Since I really had to test it, I took few scoops of the batter, arranged some cupcake liners and baked it.

And I glad I did. Because it was the best carrot cake I had ever tested!


I woke up early in the morning and started to assembled everything and frosted it. Delivered it to my friend and she told me it was delicious! Everyone loved it and it wasn't enough for everyone!

Of course I was overwhelmed. This is my journey to a perfect carrot cake.

And I glad it ended like how I wished for.

Best Carrot Cake
Adapted from Smitten Kitchen

2 cups all purpose flour
2 tsp baking soda
1 tsp salt
2 tsp ground cinnamon
2 tsp ground all spice
2 cups sugar
1 1/4 cups canola oil
4 large eggs
3 cups grated carrots
1 cup chopped walnuts
1/2 cup raisins
  1. Preheat the oven to 170 degrees celcius.
  2. Sieve together the flour, baking soda, salt, cinnamon and all spice in a medium bowl.
  3. Whisk the sugar and oil in your mixing bowl (I did not used an electric mixer) until well blended. Add in the eggs one at a time until well incorporated. Add flour gradually into the wet mixture and stir until well blended.
  4. Fold in all the dried chunky ingredients: carrots, walnuts and raisins.
  5. Bake for 45 minutes.
ps: sloth it generously with any cream cheese frosting that you love :)

Wednesday, May 11, 2011

Big Bill's Carrot Cake

A few weeks ago, my bestfriend texted me. She needed a cake, for her former working place colleagues, which she did her practical. We discussed about that few days before that and settled for a carrot cake since most of them were quite veteran and they did not fancy any schmancy cake.

And the journey to find a perfect carrot cake began...

A perfect carrot cake should be moist but not spongy. Dense but not soggy. Full with flavour but not overpowering.

The was this one time when Big Bill's carrot cake became a phenomenal in blogosphere. And so i decided to try, a pre-testing recipe to make sure I could deliver the most perfect carrot cake.

But it was nothing like what I like about carrot cake. It was dense but too dry. It was full with flavour but too many flavour until you won't know if its a carrot cake or a coconut cake. Definitely not the traditional carrot cake that I loved.

Big Bill's Carrot Cake
Adapted from: Dorie Greenspan

2 cups all purpose flour
2tsp baking powder
2 tsp baking soda
2 tsp ground cinnamon
2 tsp ground all spice
3/4 tsp salt
3 cups grated carrots
1 cup chopped walnuts
1 cup dessicated coconut
1/2 cup raisins
2 cups sugar
1 cup canola oil
4 eggs

For frosting:

8 ounces
1/2 cup butter
3 3/4 cups icing sugar
1 tsp vanilla essence
  1. Heat the oven to 170 degrees celcius.
  2. Sieve together flour, baking powder, baking soda, cinnamon, all spice and salt in a medium bowl. In another medium bowl, mix together carrots, chopped nuts, coconut and raisins.
  3. With the wire whisk attachment, beat together sugar and oil until smooth. Add the eggs one at a time and continue beating until incorporated. Reduce the speed to low and gently add the flour mixture gradually.
  4. Fold in the carrots mixture and mix well.
  5. Divide the batter onto your desired pans (either one, two or three) and bake for 40 to 50 minutes.
  6. For the frosting, beat cream cheese with a paddle attachment until smooth and creamy. Add in the butter and continue beating. Gradually add in the sugar and continue beating until smooth. Add vanilla essence.

Monday, April 25, 2011

Chocolate Bottom Banana Square

Did you know for every recipes/cakes that I post here was something that I baked at least a couple of months back? Hehe. Sorry for the almost a month silence. I just hope I won't stop posting here :)

Lately, I always have over-rippen bananas on my kitchen counter (which reminds me I still have few in the fridge) so one day I decided to bake this, just to avoid the guilt of throwing actively grown molded-bananas. And I know this was a wise decision (because it has to be).

A lot of friends did asked me, "Why do you like baking so much?", "Where did you learned?". The truth? I bake because I love eating all the sweet stuff. And I couldn't stop eating it. It has become an addiction, at least once a week, I will treat myself, almost slathering my body with the fattening creams.

And then one day I've decided to start baking. Which was a good thing at first, because I could try as many recipes that I was craving for. But the downside of it was you'd know the exact amount of fat & sugar that accumulated in your blood vessels and underneath your skin.

And then it was not that fun anymore.

But I won't stop. Because this is where my passion is (besides dancing).

Chocolate Bottom Banana Square
Adapted from Bisousatoi.

1/2 cup butter
1 cup sugar
1 egg
1 tsp vanilla essence
1 1/2 cup mashed bananas (I used around 6 medium size bananas)
1 1/2 cup flour
1 tsp baking powder
1 tsp baking soda
1/2 tsp salt
1/4 cup cocoa powder
1 cup chocolate chip
  1. Beat butter and sugar until light and fluffy. Add in the egg, vanilla essence and mashed banana and beat well until incorporated.
  2. Sift together flour, baking soda, baking powder and salt in another bowl. Add to wet ingredients and mix well using a wooden spoon or a spatula.
  3. Divide the batter equally into two bowl. Add cocoa powder in one of the bowl and mix well. Spread the cocoa batter on a 9x9 greased pan. Then spread the original batter on top of the cocoa batter and swirl it using a butter knife. Sprinkle with chocolate chips.
  4. Bake at 170 degrees for 30 minutes. Let it cool before cutting it.

And yes, it was moist and sweet and delish!

Sunday, March 27, 2011

Trifle (The best!)

I used to be the one who didn't know what trifle is.

Wait.

Do you?

It's ok. Because the first time I saw it I just sat there, at the corner of the table, waiting to dig in. And that was when I had this special connection with trifles. Any trifles. And that was also when I started to google recipes on it.

The first few attempts of making it weren't as great as it was supposed to be. There was no etiquette on how to eating it and so it would be advisable if you made it into individuals one. So usually when my trifle ended up being runny, we just ate it among us only, and not for the guests.

Time after time, I made few adjustments here and there, learned from mistakes, and there; the perfect trifle. My trifle.

Trifles were always a hit during raya, open houses or even parties. People came and started to asking for the recipes. To make a trifle is easy but the most trickiest part was the custard mixture.


The most beautiful part of a trifle is the layering. I do find it intriguing.

Last February my brother told me that he wanted me to bake or made something for dessert for a friend's farewell party. And since I also made a cheesecake for his friend, i suggested him something cold dessert rather than having two cakes. So I doubled the recipe and made two big bowls; one for him and the other one for home as everyone loves trifle so much (eventhough there was only two of us at home).

My Trifle
(which equals to one portion only)

1 vanilla swiss roll (or any cakes but please try to find a high quality one, the denser the better but it must be soft. Do not use those airy and spongy sponge cake as it may get soggy after a while. I got my swiss roll from King's.)
2 cans evaporated milk (IDEAL)
1 cup sugar (I suggest you add gradually until it is sweet enough for your liking)
4 tbsp full custard powder
1/2 can warm water
1 medium jar of high quality strawberry jem
Whipped cream
Strawberries ( a lot and also other fruits that you like. I used peaches also)
  1. Slice the swiss roll into 15 equal parts (or more depending on your bowl). Do not slice too thin and do not slice it too thin. Thin: it will get soggy. Thick: it will be to cakey. Arrange it on your bowl, making sure the bottom of the bowl is fully covered.
  2. Heat the jem on a low heat with one tbsp warm water, simmer it for a while until it liquify. Spread half of it on top of the cake evenly.
  3. Next, arrange the strawberries slices and peaches on top of the cake.
  4. Heat two cans of evaporated milk on a low heat together with sugar. Dissolve the custard powder with warm water and stir until there is no lumps. Pour it into the milk mixture and continue stirring. When its boil. continue stir with a wooden spoon until it thickens and shiny, remove from heat and let it cool down a bit.
  5. Pour the custard mixture on the bowl, on top of the cake and jem. Let it set for a while in the fridge about 15 minutes. Spread the rest of the strawberry jem on it.
  6. Meanwhile, beat whipping cream until it thickens and double up in size. Pour it on top of the cooled custard pudding with strawberries slices and peaches. Decorate as you wish.
There, your perfect trifle.

Please don't underestimate on its appearance, everyone's love it.
And it may add a few inches on your waist.

Thursday, March 24, 2011

Pandan Kaya Cake

Notice the new blog header? From now on, I'll have my own label, sticker and blog header, thanks to Nab! Hehehe. Seriously, she's easy to work it, fast (you know sometime it would take days for someone to reply your email?) and most of all, she's open to whatever suggestions you have. And so, if you have anything to design, you can email her :)

Ok I baked this cake for one of my neighbor, for her daughter's akikah here in Nilai. And since I had to work on that day (which was Saturday) for our college's convocation, I decided to bake her something for the kenduri. At first I though of baking some cupcakes but I was so tired with the layer cake process so I just made use of whatever I have with some leftovers from the layer cake i.e. kaya.

I don't know where did this recipe came from but I do remember I made some adjustment to it.

Pandan Kaya Cake

1/2 cup butter
1/2 cup sugar
2 eggs yolk
1 cup coconut milk
1/2 small tin kaya
1 1/2 tsp pandan emulco
1 3/4 cup flour
1 tsp baking powder
1 tsp baking soda
2 eggs white
1/4 sugar
  1. Beat butter and sugar until white and fluffy. Add in eggs yolk, one at a time, beat well after each addition. Continue beating at medium speed.
  2. Add in pandan emulco.
  3. With low speed, add in the flour alternately with coconut milk and kaya in 3 batches, begin and ending with flour.
  4. Beat egg whites and sugar in a separate bowl on high speed until stiff peaks form. Fold it in the flour mixture gently. Pour onto a greased baking pan and bake for 1 hr at 160 degrees celcius.
Verdict of the cake? Obe loved it, so much!

Thursday, March 17, 2011

Haw Flakes Layer Cake

Hello there! Miss me much? :) Sorry I'd been super busy lazy lately. I had to stop blogging for a while, and so did my baking activities. Phew! Now that everything is over now, I have some free time to work on the backlog posts.

First up!

My second attempt of baking a layer cake!! Despite it was a bit dry (and tiring), I had sooooooo much fun looking at the layers :D Like finally yaw! I started baking early in the morning and burned some of my skin during the process :( Boohooo.

Haw flakes Layer Cake
Adapted from Rozzan

450g butter
150g sugar
10 eggs (grade A)
300g Marie biscuits (finely crushed)
300g sweetened condensed milk
55g kaya
1 tsp vanilla essence
1 tsp baking powder
Haw flakes (I used around 15 small packets)
Red, yellow, green and purple colouring
  1. Preheat the oven to 175 degrees celcius.
  2. Beat the butter and sugar until white and fluffy. Add eggs one at a time and continue bating on high speed until incorporated well. Add vanilla essence and continue beating.
  3. Turn the mixer on a low speed and add sweetened condensed milk and grind Marie biscuits. Mix well.
  4. Divide batter into four small bowl (or depends on how many colours you want and if you're like me, mari kita tiru Bro Rozzan hehehehe). Tint some colour on your batter.
  5. I weighed each layer at 150g and bake it twice using upper heat (grill). Add some haw flakes on the second layer of each colour.
  6. Bake last layer using upper and lower heat at 150 degrees celcius for 15 minutes. Let it cool. Oh don't forget to press on the cake after you take it out from the oven for each layers to release air bubbles :) But please, take care of your hand and don't be like me :(


But in the end, nobody ate this cake except me :(